Title Region Export & Import
1. Overview
In order to facilitate the development, testing and release of games, usually a game requires multiple title regions to work in parallel. Generally speaking, before QA tests the game, the development team needs to migrate the Dev Region configuration to the Test Region. If this kind of migration is done manually one by one, it is not only inefficient, but also easy to introduce human error.
To simplify these migration tasks, we provide the title regions export & import function. You can export a title region configuration (excluding player data) to a snapshot file at any time, and then import the snapshot file to specified title regions. Snapshot files are readable YAML files. Before importing, you can even modify them or manage them in your own version control system. This design also helps you build your own fully automated Pipeline.
2. How to Export Title Region
Step 1. Open Region Export page in Console shown below.
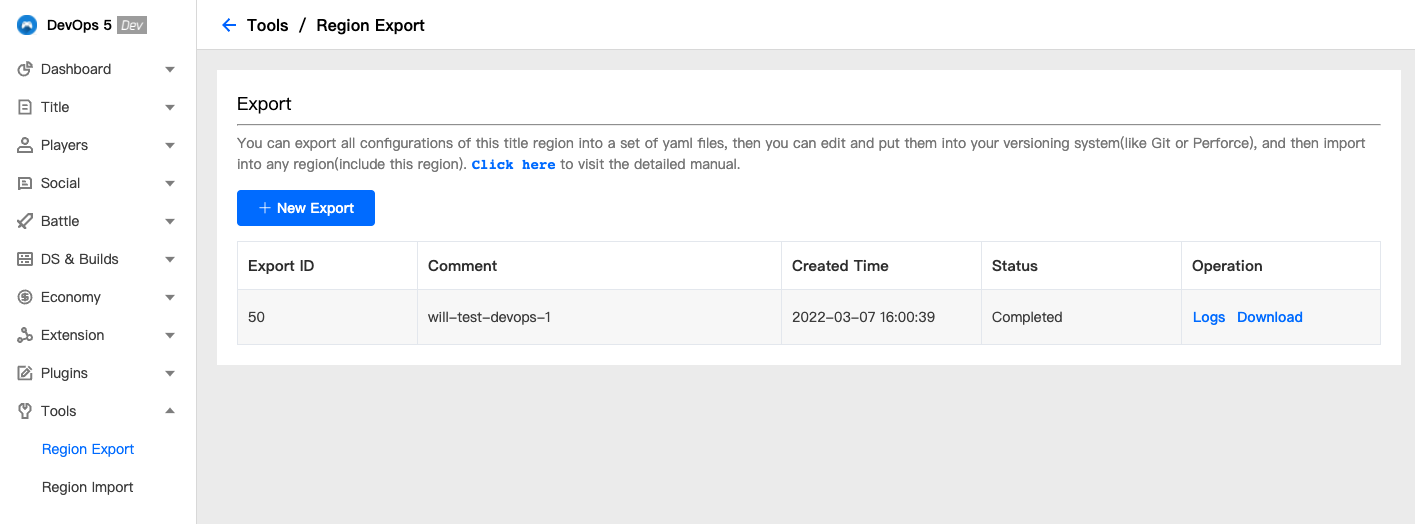
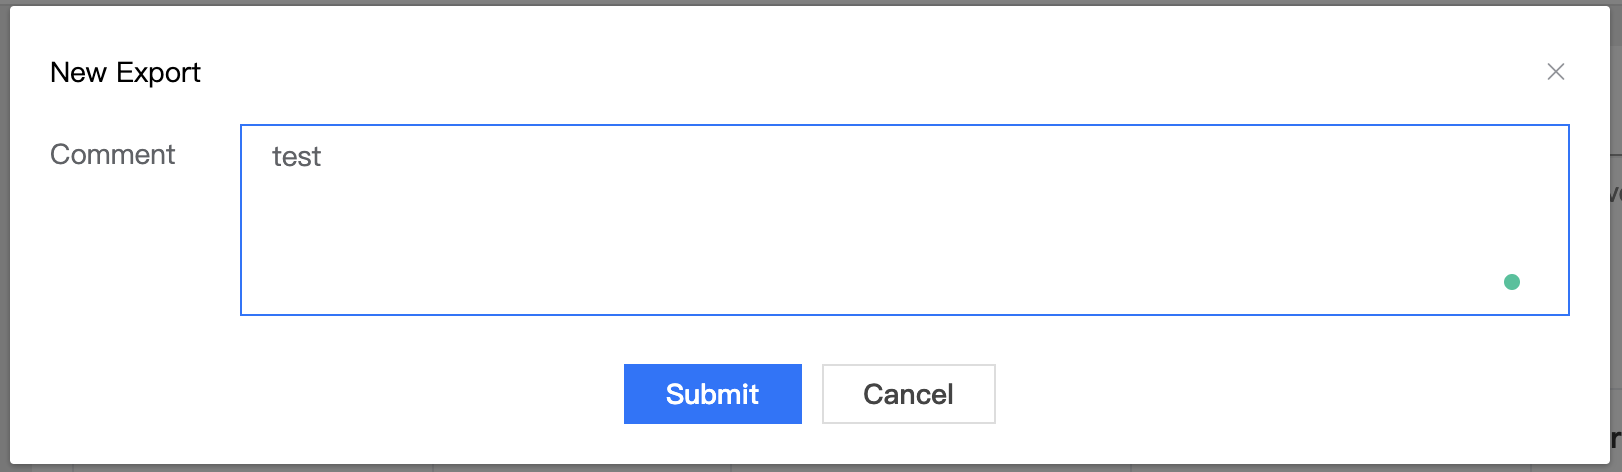
Step 2. Click New Export button and then input the comment to start a new export task.
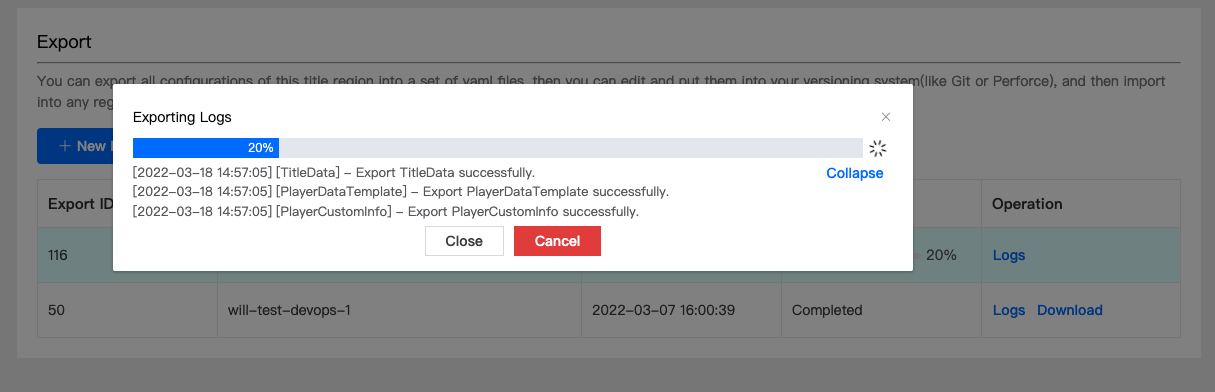
Step 3. A new task will be prompted in the list. You can download the package once the exporting task completed. The screen is shown below.
The exported package contains several YAML files that describe the configuration and meta data of every service, as shown below.
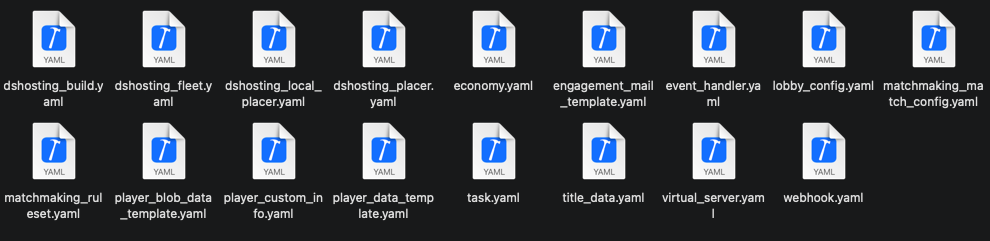
These files can be stored in you local disk or version control system(git, svn, etc). You can import them into other regions or the same region for restore later. These files can be also modified since they are YAML files, but you should be careful to do it. Whatever, the configuration of Fleet, Build, Queue and Virtual Server should not be modified because they are related to the resource of Cloud Provider.
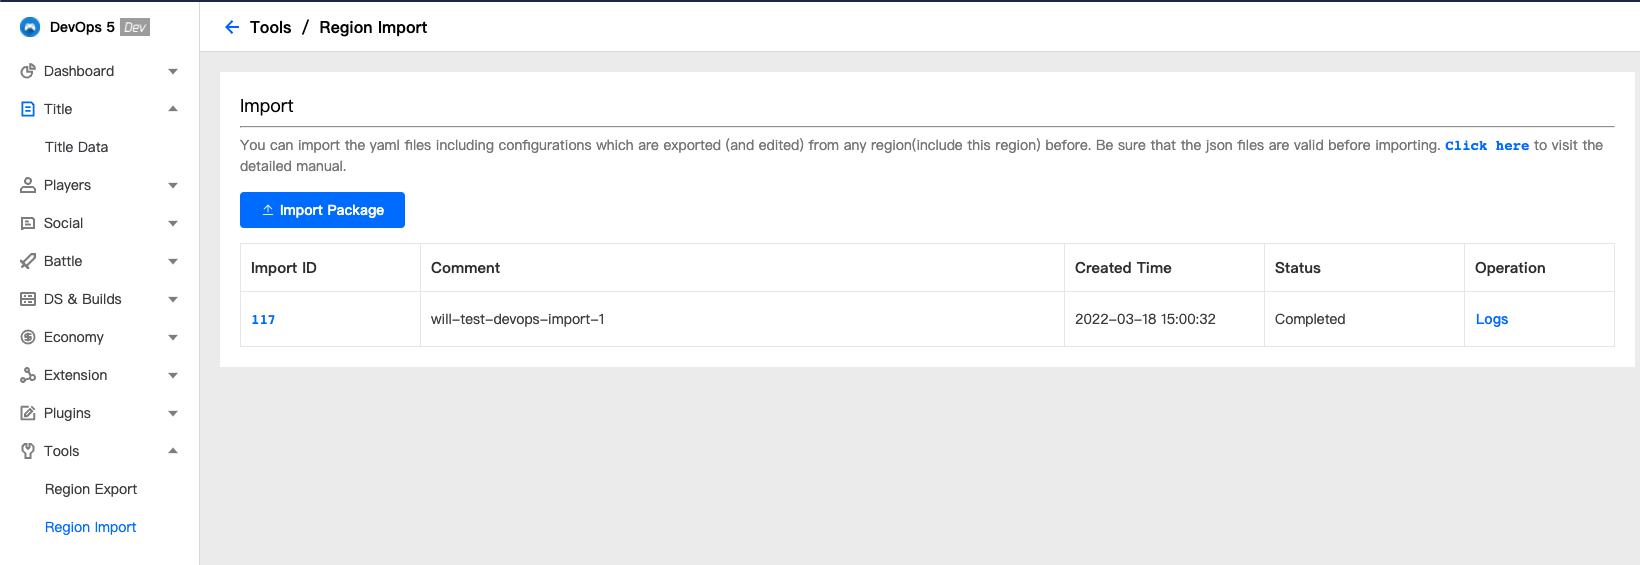
3. How to Import Title Region
Step 1. Open Region Import page in Console shown below.
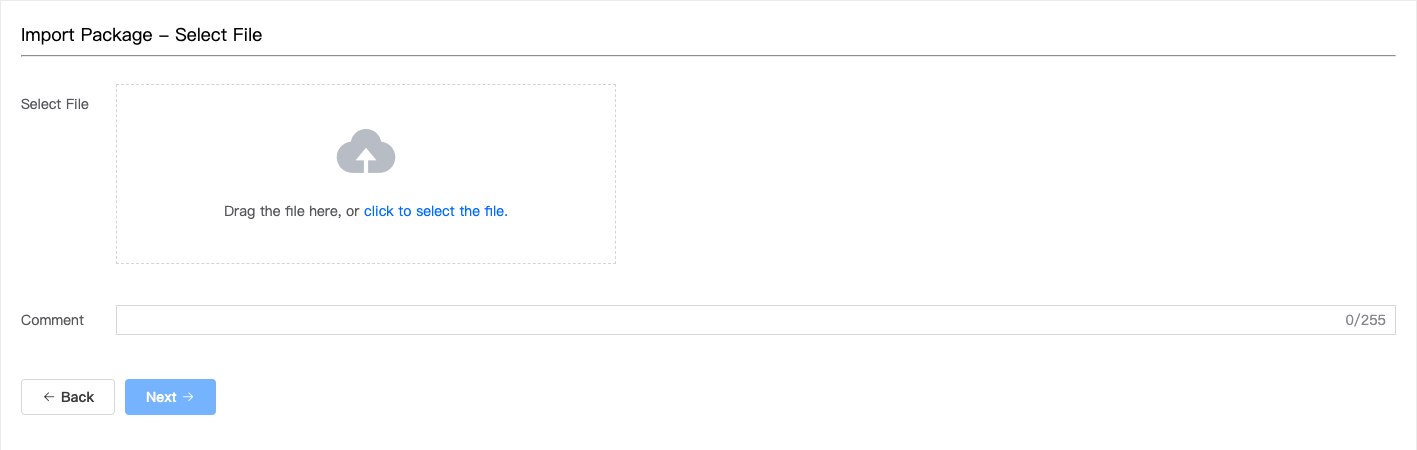
Step 2. Select the package that was exported before in the Region Export page, input the comment and then click Next button to go to the next step.
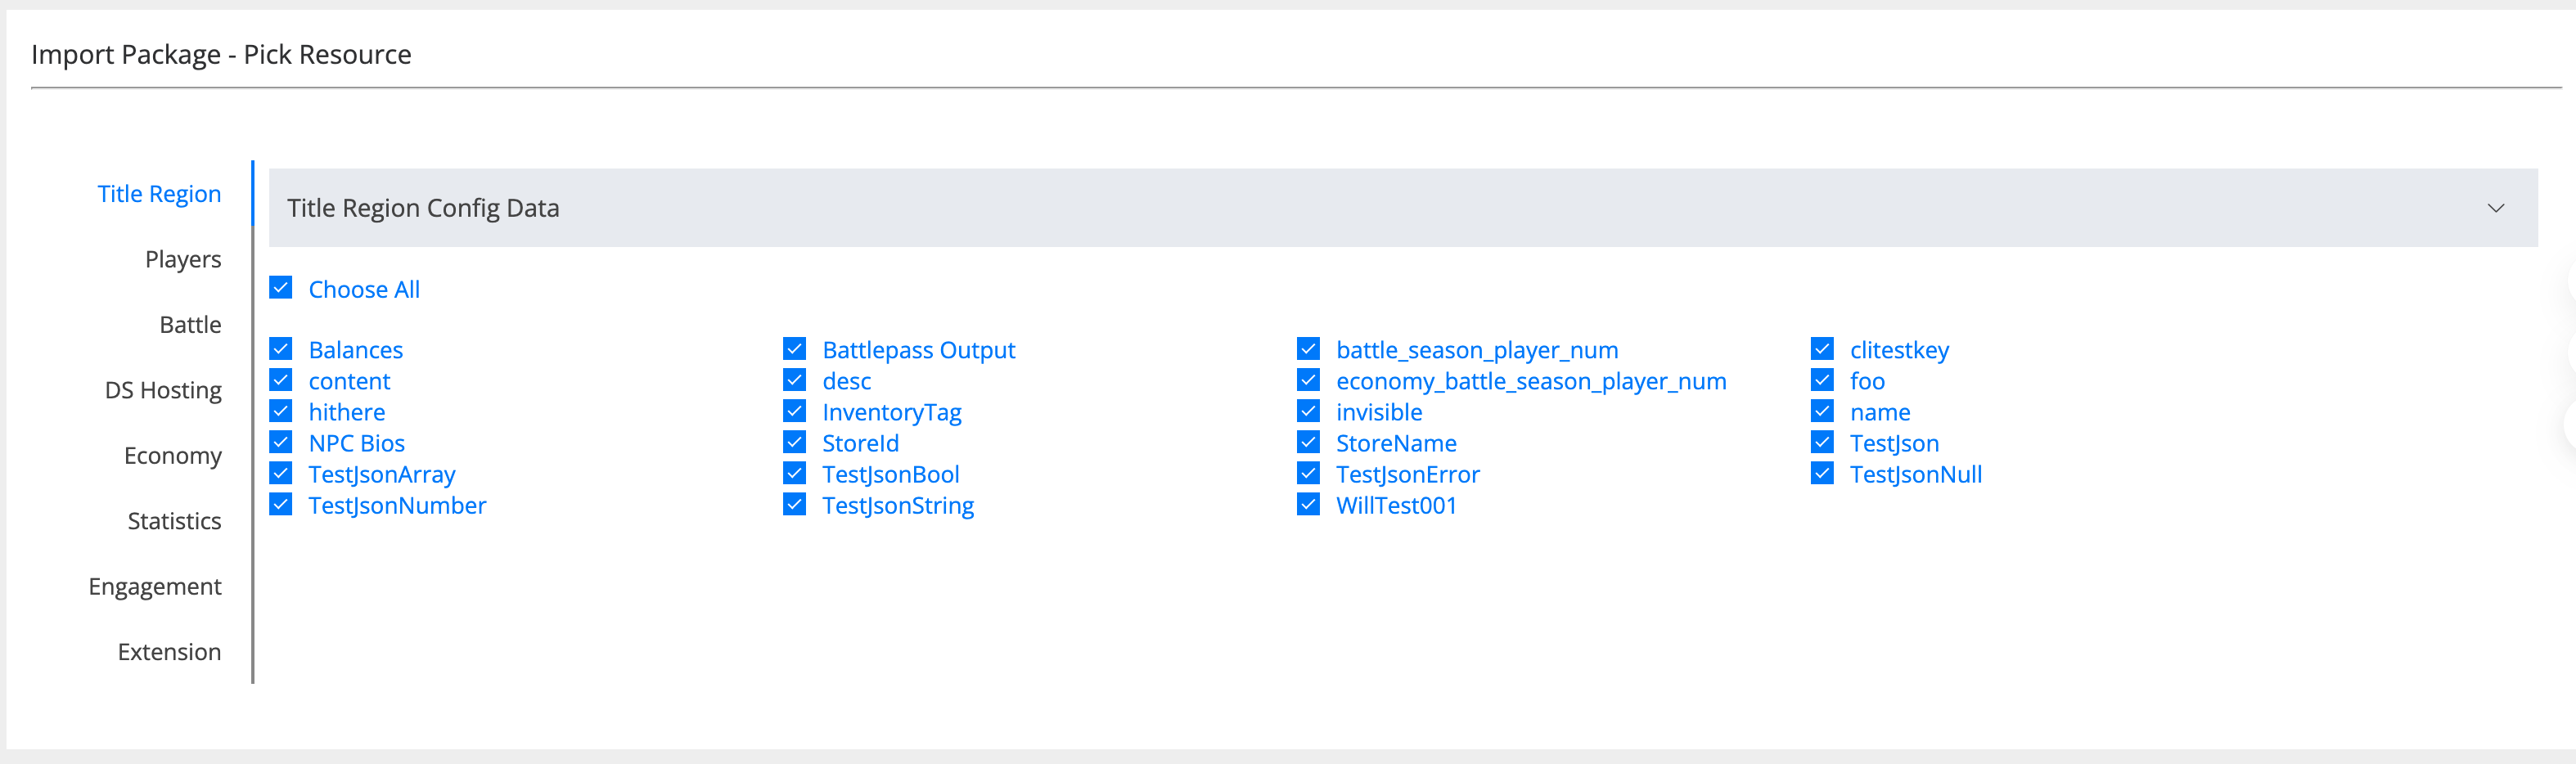
Step 3. On the following page, you can select the resources you need to import and click Next.
Step 4. Check the Diff information between the status described in the package and current title region, as shown below.

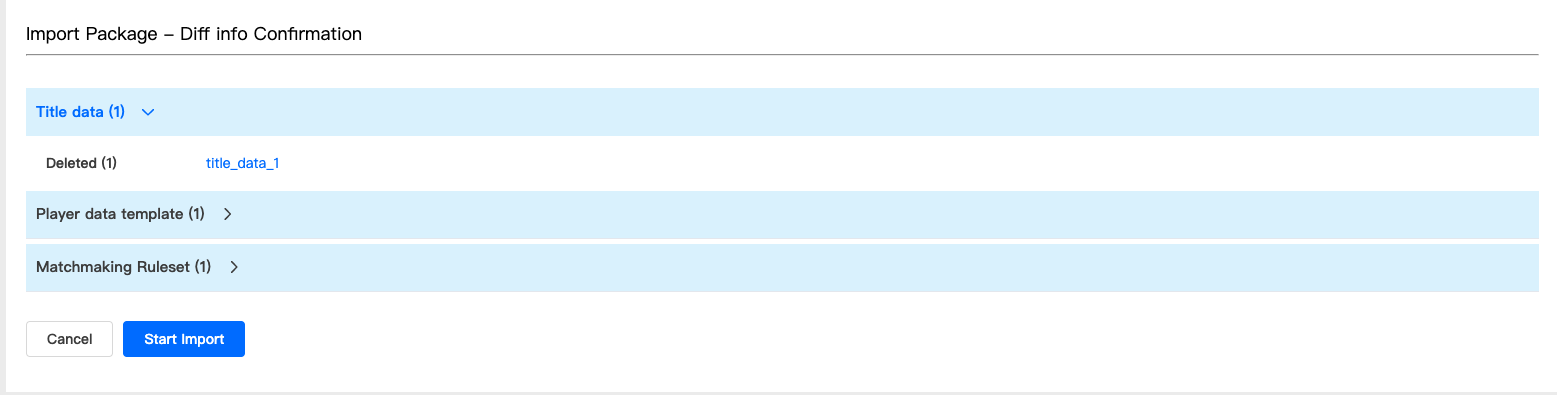
The Diff information will be displayed in the screen if the configuration and meta data of corresponding service are different from the package. There are three types diff:
- New: means that new content will be added into this title region after importing.
- Changed: means that the existed content in this title region will be changed after importing.
- Deleted: means that the existed content in this title region will be deleted after importing.
We strongly suggest that all Diff information would be checked carefully before you start importing.
Step 5. Click the Start Import button to start the importing task once you checked all the Diff information.

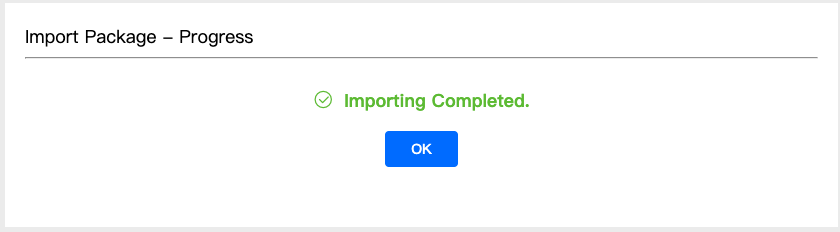
Step 6. The importing will take you several minutes. The result will be displayed in the screen once the task is completed as shown below.
4. Specification of YAML Snapshot Files
Please refer to Yaml File Specificiation documentation for information!